In four easy steps, you can transfer your credit card balance to your TDECU account.
Step 1: Log In to Your Account
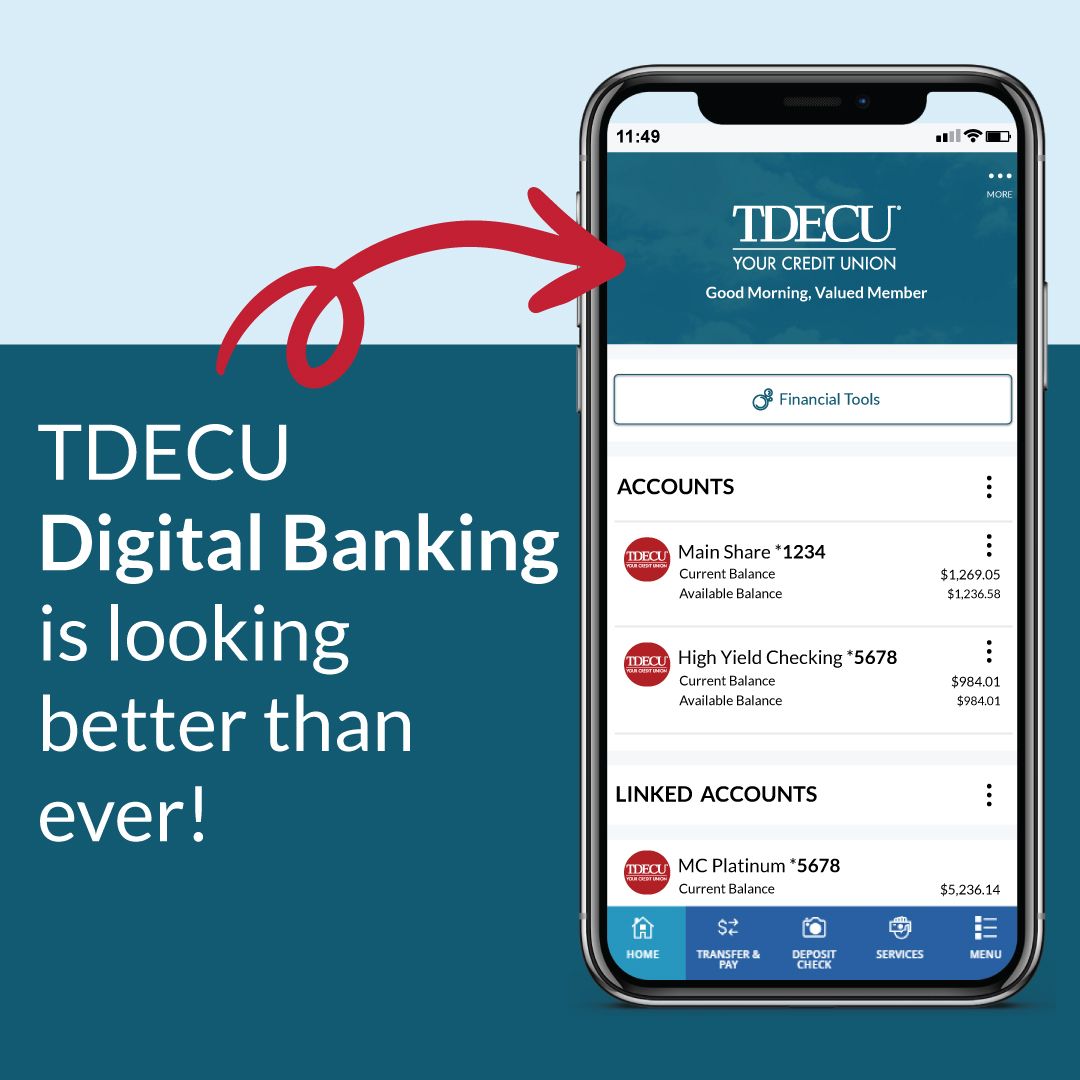
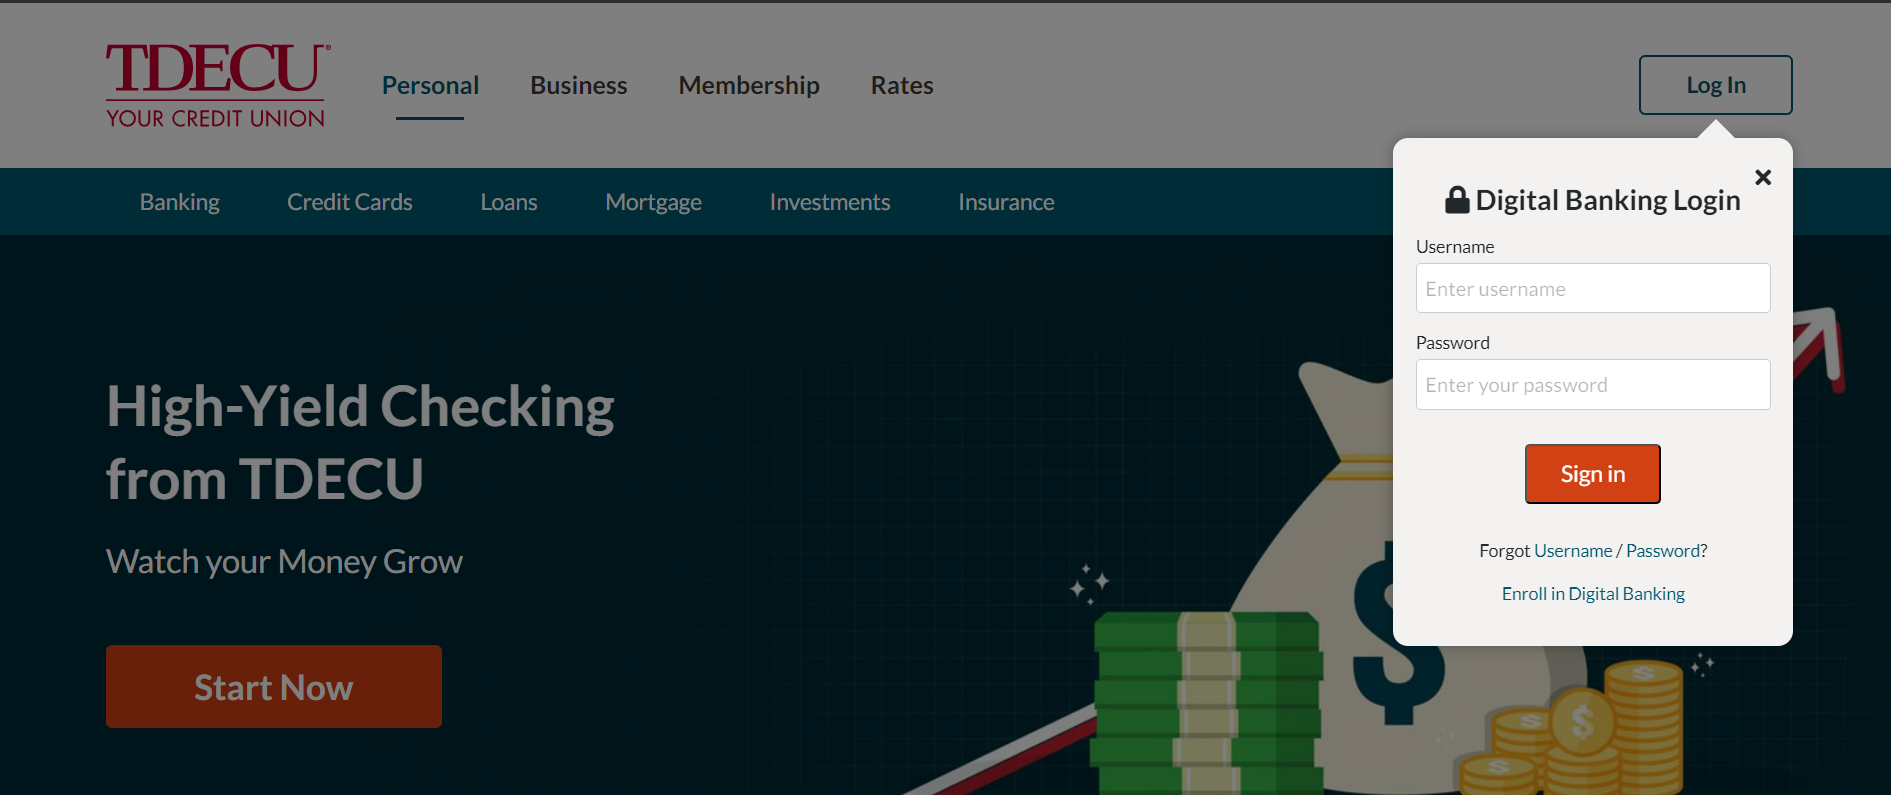
Logging in to your TDECU account is the first step. Now that the balance transfer feature is securely behind the login feature, this is necessary. If you don't have an account, you can create one here.
Step 2: Navigate to the Transfer a Balance Tile
To transfer your balance, you must navigate to the transfer a balance function. First, click on the transfer and pay navigation item. Then scroll down to the bottom of the page and click the "Transfer a Balance" tile. That will start the process!
Step 3: Select Where to Transfer To and From
To process your balance transfer request, TDECU needs to know where you would like to transfer the balance from and to which card you would like it transferred. The first item you must select is which TDECU card you would like to transfer the balance to.
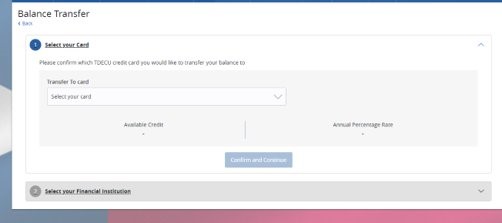
After that, you will need to input your credit card number, the zip code of your financial institution, and the amount you would like to transfer. Please note: The amount you request to transfer must be more than $100.00 and less than the amount of credit you have available.
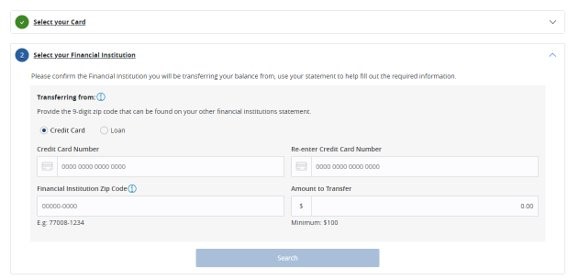
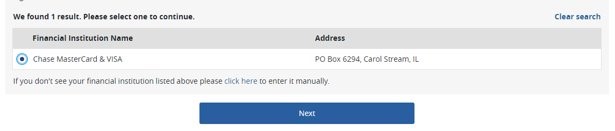
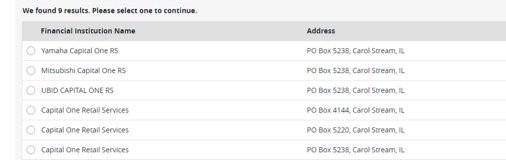
Once you search, one or more institutions will populate. Multiple financial institutions may populate if you input only the first five digits of your financial institution's zip code. If that happens, select the financial institution from which you are transferring the balance from the list.
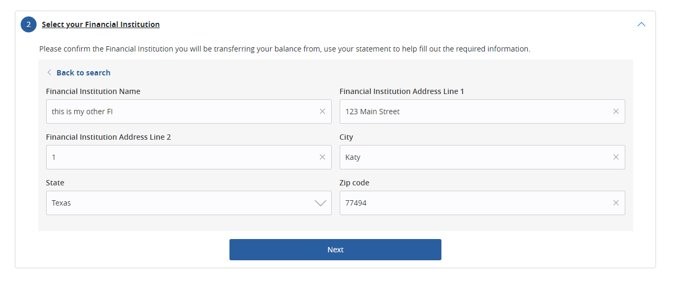
It is possible that your institution is not on our lender table. If so, you will be prompted to input your financial institution's information.
Step 4: Confirm Your Transfer
The final step is to confirm your transfer. To confirm your transfer, you must scroll through and read the entire disclosures. The "Submit" button will highlight at that point, and you can finalize your transfer request.
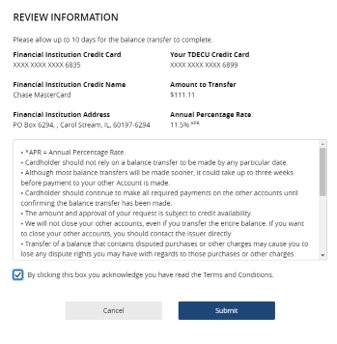
You will receive a confirmation email confirming your request has been received.
Conclusion:
We hope this guide was useful in helping you complete your balance transfers. Questions can be directed to Member Care. Thank you!